When it comes to LED screens, proper testing is essential for ensuring optimal performance and reliability. Let’s explore how to carry out effective tests.
To test an LED screen, you need to check key components such as the display’s brightness, color accuracy, response time, and physical condition. This ensures the screen functions as expected, offering clear visuals and durability.

Testing an LED screen may seem like a simple task, but it involves several important checks that can make a big difference in performance. Whether you're installing a new screen or maintaining an existing one, proper testing guarantees that your LED screen delivers the best results.
What Should You Check First When Testing an LED Screen?
When you first start testing an LED screen, there are a few crucial aspects you should focus on.
Before diving into complex testing procedures, start with basic visual checks like inspecting the screen for dead pixels, color consistency, and any obvious damages.
One of the easiest ways to check for issues is to visually inspect the display. Look for any dead pixels or color inconsistencies, which can affect the screen's performance. Make sure to check the screen at different brightness levels and angles.
How to Check the Brightness and Contrast
To test the brightness, adjust the screen’s settings and observe the output at varying levels. Similarly, contrast testing is essential to see how well the screen distinguishes dark and light areas.
Here’s a simple way to do it:
- Set the screen to its maximum brightness and check how well it handles bright images.
- Then, lower the brightness and assess the contrast to ensure clear visibility under different lighting conditions.
Physical Integrity of the Screen
Beyond performance, physical integrity is just as important. Check for any visible cracks, scratches, or other damage on the screen’s surface. Any of these could impair its functionality. Ensure the screen is firmly mounted and securely connected.
How to Test Color Accuracy on an LED Screen?
Color accuracy is one of the most crucial factors when testing an LED screen. A display that doesn’t show colors correctly can be frustrating for both viewers and designers.
To test color accuracy, you should use a calibration tool and display a variety of colors to ensure the screen can reproduce them faithfully.
![]()
By using tools that test various color hues and temperatures, you can adjust the settings of your LED screen to achieve accurate color representation. Be sure to evaluate whether the reds, blues, and greens appear natural, and adjust the gamma settings for optimal results.
Why Color Accuracy Matters
Color accuracy is essential for displays used in professional settings such as digital signage, broadcast media, and design. Inaccurate colors can distort content and make it difficult for viewers to understand. For example, a photo on an LED screen with poor color accuracy can look drastically different than on other devices.
Testing LED Screen Response Time and Refresh Rate
The response time and refresh rate of an LED screen are significant factors that affect its performance. Whether for gaming, video playback, or any application involving movement, these elements need to be up to standard.
To check the response time and refresh rate, you can use specialized software or video files that have fast motion to assess how well the screen handles them.

The response time is the time it takes for a pixel to change from one color to another. A low response time reduces motion blur, making the screen ideal for video and gaming. The refresh rate, on the other hand, determines how often the screen refreshes per second. A higher refresh rate means smoother motion.
The Importance of Response Time and Refresh Rate
A fast response time (measured in milliseconds) and a high refresh rate (measured in hertz) are particularly important for high-speed content like video games or live sports broadcasts. Low response times ensure minimal motion blur, while a high refresh rate improves the fluidity of the image.
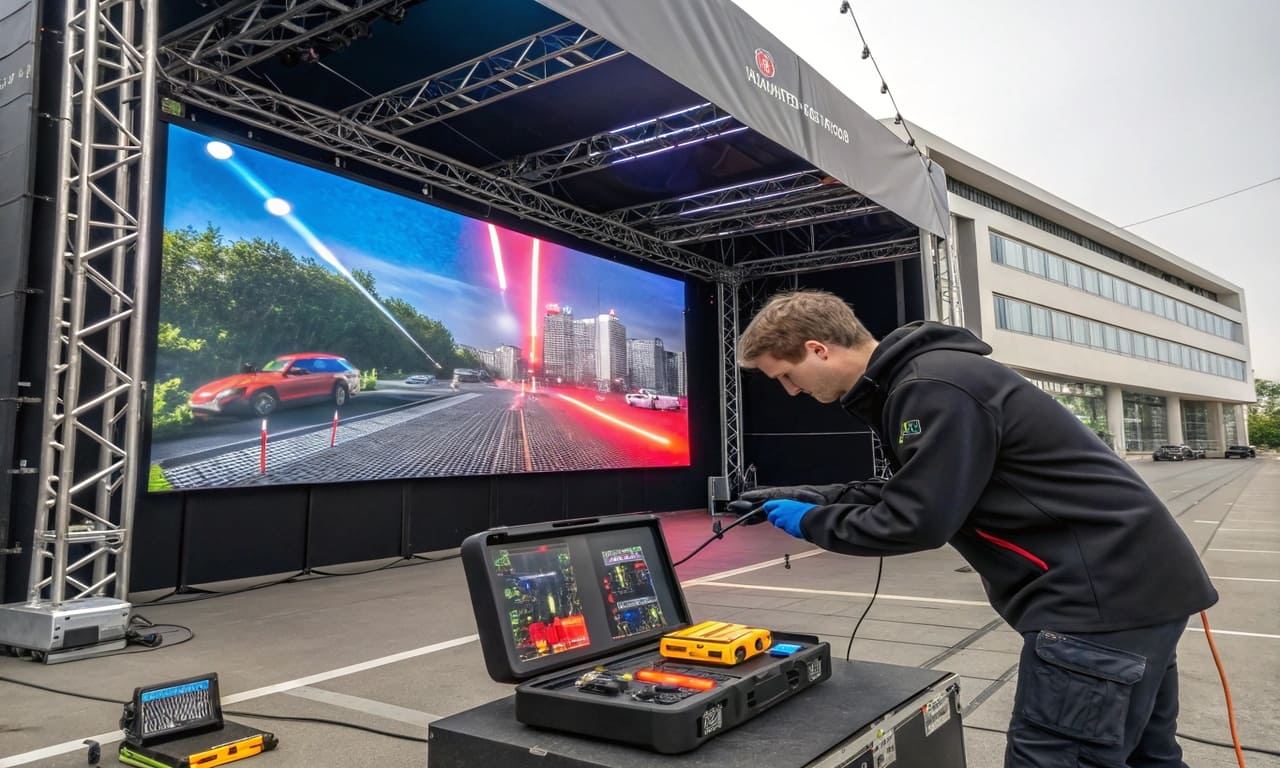
How to Test the Power Supply and Connections of an LED Screen?
Another critical step is to test the LED screen’s power supply and all of its connections. Poor connections can lead to intermittent display failures, and insufficient power can cause the screen to underperform.
To check the power supply and connections, ensure all cables are securely plugged in and test the power output with a multimeter.
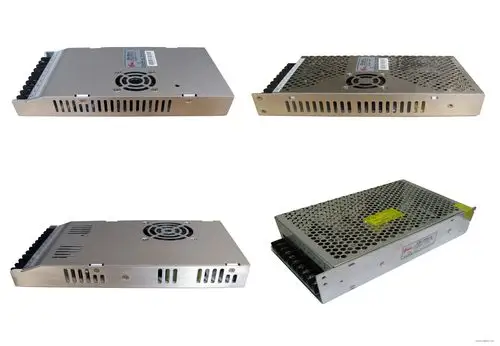
A stable power supply ensures the LED screen receives consistent energy, preventing flickering or blackouts. It’s also essential to test for any loose connections in the cables or ports. Ensure that the screen is connected to a reliable power source and that all input ports are working correctly.
Troubleshooting Power and Connectivity Issues
If you encounter issues with the power or connectivity, it might be due to faulty cables, power sources, or even the internal circuitry of the LED display. Always test cables with other devices or swap out components to pinpoint the issue. If problems persist, consider professional assistance.
Conclusion
Testing your LED screen properly ensures that it delivers clear visuals and a long lifespan. Regular checks on key features like brightness, color accuracy, and power supply can prevent many common issues and enhance the user experience.